Copyright © 2026 Acrovid. All trademarks are property of their respective owners
Support
Products
Resources
About
Sign up for our newsletter to receive
news and special offers


Press/Affiliates
Share


About
About
User Guide
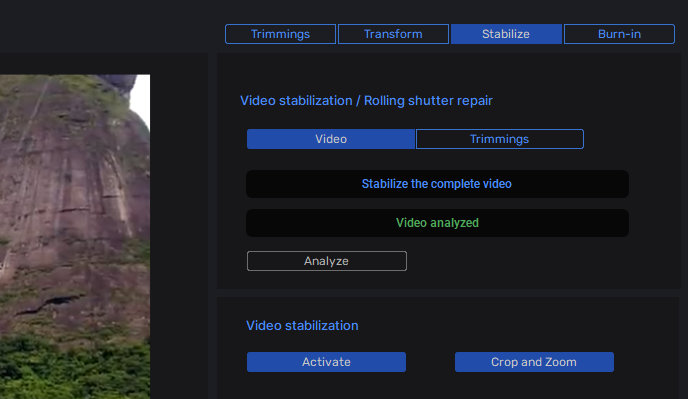
Stabilization modes: Complete video or video segments
Video stabilization and rolling shutter repair can be applied to complete
video or to video segments.
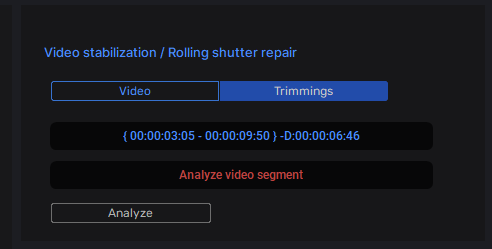
Select Video to stabilize the complete video, select trimmings to stabilize
separately each video segment.
TIP: depending on the video, it may be better to select several video
segments and stabilize them independently.

Acrovid,neoFootage AI, SuperChroma AI and SuperBitdepth AI are trademarks or registered trademarks of Acrovid, All other trademarks or registered trademarks like Adobe Premiere, After Effects, Dacinvi Resolve, Avid, Avid Media Composer, ProRes, DNxHD, GrassValley, NVIDIA, CUDA,Intel, Quicksync
or Cineform mentioned in this document are property of their respective owners. Reference herein does not constitute or imply affiliation with our company, endorsement, or recommendation. Some videos on this webpage are from Videezy.com
Cinematic video stabilization and rolling shutter repair

Included in neoFootage AI
Tips and tricks
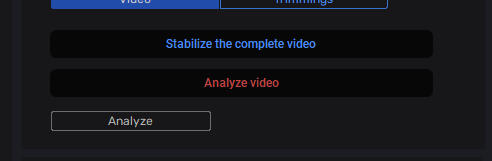
When the video needs to be analyzed or re-analyzed, the information panel
will show “Analyze video”, then press the button “Analyze” to start the video
scanning.
Analyzing the video or the video segment
Before stabilize the video or repair rolling shutter , the video must be
analyzed.
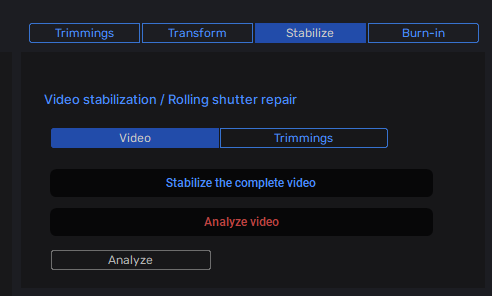
When the video needs to be analyzed, for example at start or after changing a
setting, “Analyze video” or “Analyze video segment” is shown in the
information panel with blinking text in red.
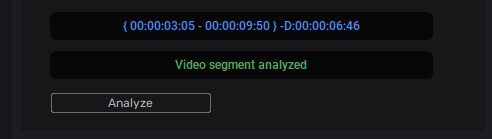
Press the button “Analyze” to analyze the video, when finished the panel will
show “Video segment analyzed”.
After analyze the video, the stabilization parameters can be configured
without re-analyzing the video.
Activating video stabilization
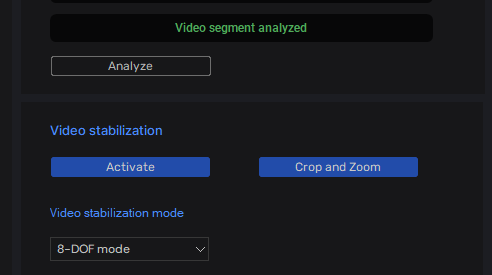
When the video or the video segment is analyzed, activate video stabilization
by checking the “Activate” button.
After activating, the video is shown stabilized in real time , and can be played
to check the stabilization results.
When stabilizing the video, the video frames are re-positioned causing black
borders, activate “Crop and zoom” to remove the black borders.
Crop and Zoom
Video stabilization method
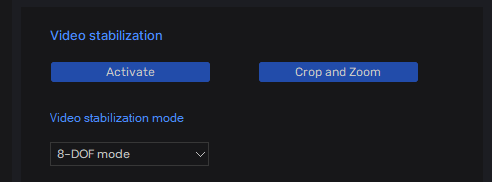
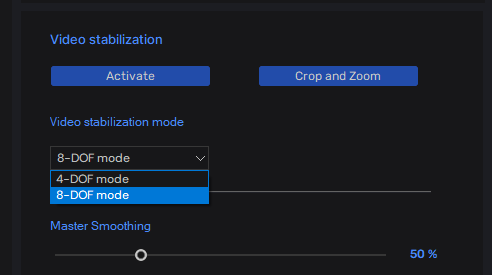
Video stabilization supports 2 stabilization modes, 4-DOF mode and 8-DOF
mode.
8-DOF is the default mode, but in some videos the simpler 4-DOF mode can
achieve better results.
When changing the stabilization mode, the video must be re-analyzed.
Configuring the video stabilization
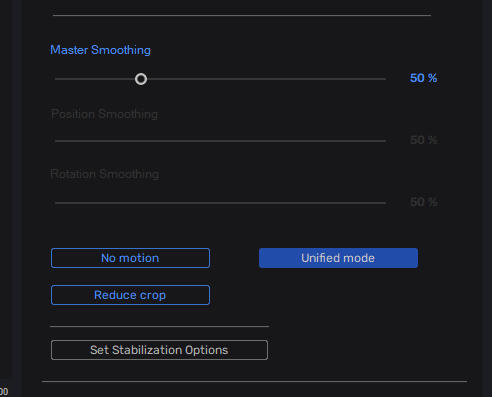
Video stabilization can be easily configured with three configuration modes, after configuring , press the button “Set stabilization
options”, and check the stabilized video in real time.
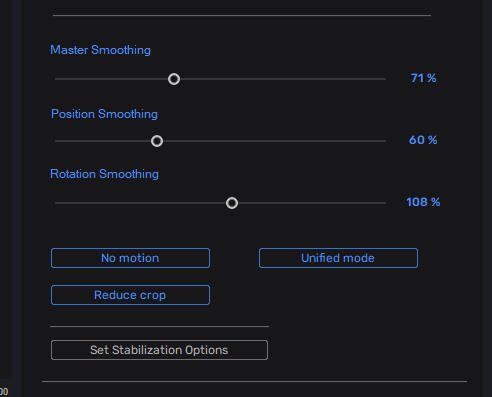
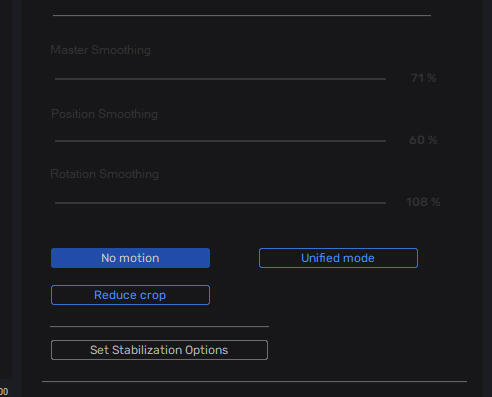
Configure the stabilization in unified mode
Configure the stabilization with master, position and rotation smoothing
No motion mode
Reduce crop
In unified mode, the stabilization is configured using only the “Master
smoothing” value.
Default value is 50%, reduce or increase the amount depending on the video
and the stabilization required.
Values below 100% are recommended for most videos.
Uncheck “unified mode” button to configure independently the Master,
position and rotation smoothing.
As with master smoothing, for position and rotate smoothing the default value
is 50%, reduce or increase the amount depending on the video and the
stabilization required.
Values below 100% are recommended for most videos.
Activate “No Motion” button to remove completely the camera motion.
No motion mode is recommended for videos where the camera shakes but
does not move or pan.
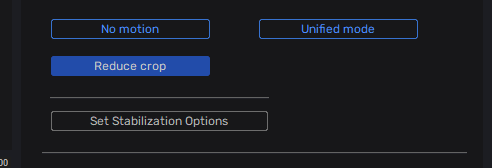
Reduce crop is a useful setting that allows to reduce the crop in videos where
the camera moves or pans.
For example, in a video recorded with a helmet camera recording forward, when
the camera looks to a side and returns to forward, this fast panning causes the
stabilization to compensate the movement increasing the video crop.
Activate “reduce crop” if the crop is too small.
The setting has no effect if the stabilized video has no fast pans.
Rolling shutter repair
Rolling shutter causes video skew and wobble when camera moves or shakes
fast .
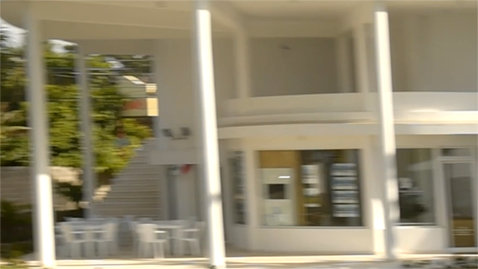
For example, in this video example a fast panning caused the house columns
appear skewed.
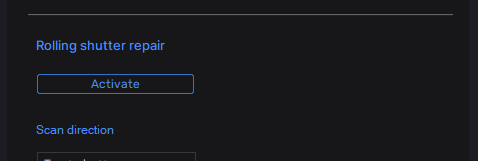

Scan direction
Check “Activate” button to apply rolling shutter repair, the rolling shutter repair
is shown in the video in real time.
If the the video needs to be analyzed, “Analyze video” will be shown in
information panel, then press the “Analyze” button.
Configuring rolling shutter repair
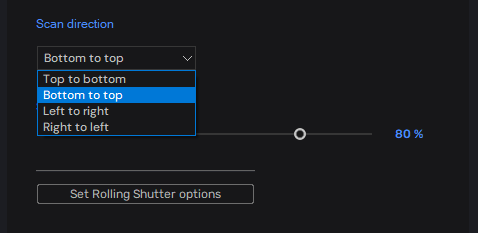
Rolling shutter is caused by the camera sensor scanning the image line by line.
Most cameras scan the lines from top to bottom.
Set the scan direction depending on you camera sensor scan method.
TIP: when recording vertical video in phones, usually the sensor is scanned “left to
right”.
TIP: if the sensor scan direction is unknown, select the mode that actually fixes the
rolling shutter effect.
Sensor readout
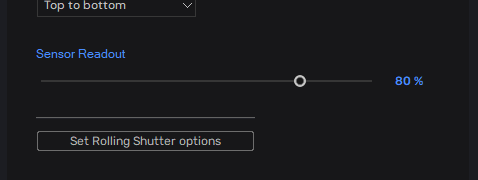
Sensor readout is the speed the sensor scans the lines
The default value is valid for most cameras.
Increase or decrease the value if rolling shutter is not repaired.
Checking the results in real time
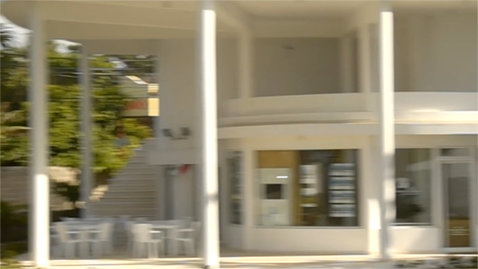
After configuring scan direction or sensor readout, press the button “Set Rolling
Shutter options” to check the effect in real time.
In the video example, after rolling shutter repair the house columns appear
straight.
Analyzing the video
Activating both stabilization and rolling shutter repair
When activating both stabilization and rolling shutter repair, the video must be
re-analyzed only when changing the rolling shutter repair settings.
If the rolling shutter repair settings need to be changed, stabilization is
automatically de-activated, after configuring rolling shutter repair settings,
activate stabilization and re-analyze the video.